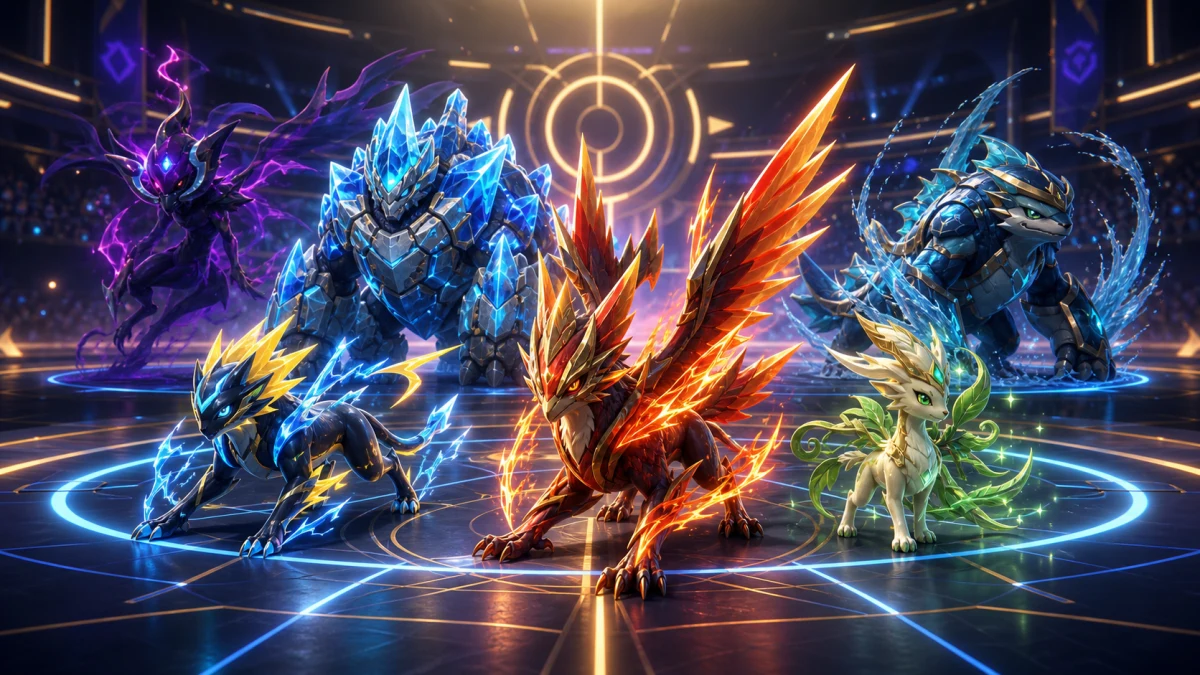
Stall is the most deliberate playstyle in Pokemon Champions. Instead of racing to knock out the opponent’s team, you build an impenetrable wall of resists, recoveries, and residual damage — and you wait. Entry hazards chip. Toxic ticks down. The opponent’s powerful wallbreaker runs dry on PP or gets ground down by passive damage. You win without ever throwing an all-out attack.
This guide breaks down the mechanics of stall and defensive-core building in Pokemon Champions. Whether you want to understand how stall works, why some defensive structures fall apart, or how to build a team that can grind out ranked games through attrition, this is your starting point.
What Makes a Stall Team Different
Before building anything, you need to understand what separates stall from other archetypes. Most teams in the meta fall into three broad categories:
Hyper offense — Six Pokemon optimized to deal damage as fast as possible. Win conditions involve setting up once and sweeping. Speed and raw power are everything.
Balance — A flexible mix of offensive and defensive Pokemon. You have answers to threats but also enough firepower to pressure back. Most mid-ladder players run some version of balance without realizing it.
Stall — A team built almost entirely around staying alive. Your Pokemon’s jobs are: absorb damage, recover HP, spread status, stack hazards, and remove the opponent’s hazards. Your win condition is running the opponent out of ways to deal with you.
Stall is not passive. It demands that every turn counts — which hazard to set, whether to stay in or pivot, when to use Recover versus when to attack, and which opponent Pokemon to prioritize inflicting status on. The margin for error is often smaller than it looks from the outside.
The Foundation: Type Coverage in Your Defensive Core
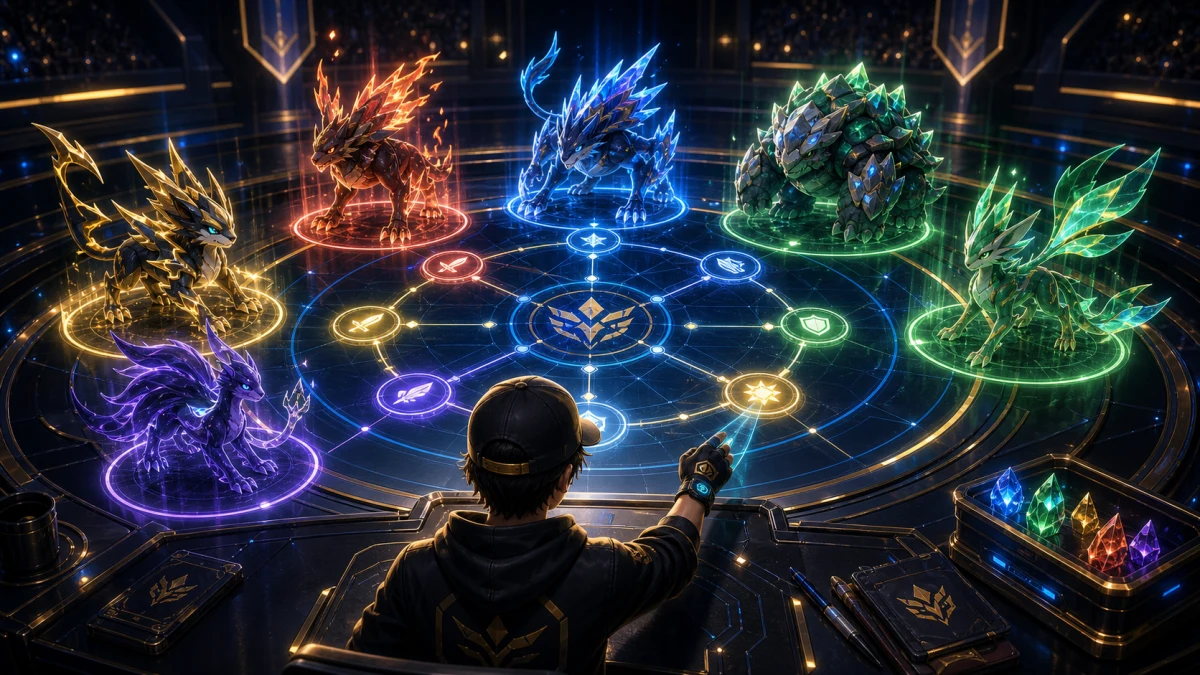
The most important concept in defensive team-building is the defensive core — a group of two or three Pokemon whose typing leaves as few exploitable weaknesses as possible between them.
The classic example from mainline Pokemon is the FWG core (Fire, Water, Grass). Each resists or is immune to the other’s weakness:
- Fire beats Grass, resists Steel and Fairy
- Water beats Fire, resists Rock and Steel
- Grass beats Water, resists Ground and Electric
No single type can cleanly sweep through all three without significant speed or power investment. That’s the goal of a defensive core: make the opponent work harder than you do.
In Pokemon Champions (early meta, as of June 2026), the same type triangle logic applies — the standard type chart carries over from mainline Pokemon. Building your core around mutual coverage is the first step before considering individual movesets or held items.
When evaluating a defensive core, ask:
- Does Pokemon A cover Pokemon B’s worst weaknesses?
- Does Pokemon B cover Pokemon C’s worst weaknesses?
- Is there a single type that threatens all three at once?
If there’s a single type that punishes your whole core, you’ve found a structural flaw. Address it in the back half of the team.
Three triangle structures to consider once you know which Pokemon Champions’ roster includes:
Fire / Water / Grass (FWG) — the textbook starting point. Ground answers Fire, Rock, and Electric from a different angle; Flying gaps still need a fourth-slot fix.
Steel + Fairy + Fire — compact and resilient. Steel resists most of the type chart and is immune to Poison; Fairy covers Dragon and Fighting; Fire patches Steel’s Ground weakness and Fairy’s Steel weakness. A tight defensive spine.
Dragon + Steel + Fairy — high base stat backbone, but needs careful handling of physical attackers. Protect users and Intimidate support help keep the Dragon slot healthy.
Understanding Entry Hazards: The Engine of Stall
Entry hazards are the engine that turns stall from a passive survival playstyle into an active win condition. The three core hazards are:
| Hazard | Move | Effect |
|---|---|---|
| Stealth Rock | Stealth Rock | 12.5% to 50% damage on switch-in, based on Rock type matchup |
| Spikes | Spikes (stack up to 3 layers) | 12.5% / 16.7% / 25% damage on grounded switch-ins |
| Toxic Spikes | Toxic Spikes (1 or 2 layers) | Poisons or badly poisons grounded non-Poison switch-ins |
Every time your opponent switches Pokemon — which stall forces constantly by being annoying to break through — hazards deal chip damage. Stack Stealth Rock plus two layers of Spikes and the opponent is taking 37.5% on every switch-in before you’ve done anything else. That number adds up quickly over a 20-turn game.
Hazard removal is equally important. Your opponent will have hazard removal too — most commonly Defog (removes all hazards on both sides) or Rapid Spin (removes hazards on the user’s side). You need a way to deter or block hazard removal. Options include:
- Ghost-types that block Rapid Spin by switching in on it
- Taunt to prevent Defog from a defensive user
- Pressure + PP drain to exhaust Defog PP over long games
Layers 1-3 of Spikes take one move each, so keeping them up is an investment that stall teams protect fiercely. For a deeper look at how held items like Heavy-Duty Boots interact with hazards, check our held items guide.
Status Conditions: The Other Residual Engine
Stall teams run status moves extensively. The two primary tools are:
Toxic / Toxic Spikes — Badly poisons the target, dealing 1/16 of max HP on turn 1, 2/16 on turn 2, and increasing every turn. A Pokemon badly poisoned at the start of a match loses more than half its HP purely from poison over 8 turns. This is your primary win condition against most tanks and walls.
Will-O-Wisp / Scald burn — Burns the target, dealing 1/16 HP per turn and halving the target’s Attack stat. The Attack drop is huge: a physical attacker with a burn is no longer threatening most of your team, buying you time to recover and stack more hazards.
The counterplay to status is status immunity. Common immunities to be aware of:
- Poison-types cannot be poisoned
- Steel-types cannot be poisoned (by Toxic Spikes, but can be hit by the move Toxic directly)
- Fire-types cannot be burned
- Magic Guard ability users take no passive damage at all
- Natural Cure cures status on switch-out
Building a stall team requires knowing which opponents are immune to your status tools and having an answer for them — usually direct pressure, Knock Off to strip their item, or a secondary status option.
Recovery: The Heartbeat of Every Wall
A wall without reliable recovery is a wall on a timer. Every stall Pokemon needs a plan for healing.
Self-recovery options:
- Recover / Roost / Moonlight / Synthesis / Slack Off — Restore 50% HP in one move. This is the gold standard. Any Pokemon with one of these moves can function as a long-term wall.
- Leftovers — Restores 1/16 max HP at the end of every turn. Passive but reliable and item-slot flexible. This is the default held item for almost every wall.
- Rest + Sleep Talk — Full HP restoration at the cost of sleeping for two turns, with Sleep Talk covering those turns randomly. Clunky, but functional in defensive roles where speed matters less.
Team-based recovery:
- Wish — The user stores an HP recovery equal to 50% of their max HP, which heals the next Pokemon in on the following turn. Essential for passing to teammates that lack their own recovery.
- Heal Bell / Aromatherapy — Cures all status conditions on the team. Your cleric is one of the most important support slots on a stall team. Without one, a single Toxic on your key wall can be a death sentence.
For more on the mechanics of held items and how they interact with recovery, see our held items guide.
Building the Hazard Layer: Setting and Removing
A complete stall team typically runs two hazard setters to ensure at least one gets rocks up even if the other is knocked out early.
Stealth Rock is your first priority. Nearly every team has at least one Pokemon that takes heavy Stealth Rock damage — Fire, Ice, Flying, Bug, and Rock types all take 25% or more on switch-in.
Spikes layers come after Stealth Rock. Three layers is the theoretical maximum, but even one layer (12.5%) meaningfully pressures grounded opponents. Which specific Pokemon can set Spikes in Champions’ current roster is still being mapped by the community as of writing.
Toxic Spikes are more situational. Two layers badly poison any grounded, non-Poison type that switches in. The risk: if the opponent switches in a Poison-type, they absorb and erase your layers. Scout the team before committing to Toxic Spikes over direct Toxic.
Hazard removal on your side is equally important. Your opponent will set hazards too. Rapid Spin only removes hazards on your side — the preferred option when you’ve invested in stacking your own layers — but Ghost-types block it entirely. Defog clears both sides reliably, at the cost of erasing your own hazards. Many stall teams run Rapid Spin backed by a Ghost-type in the back to preserve hazard asymmetry.
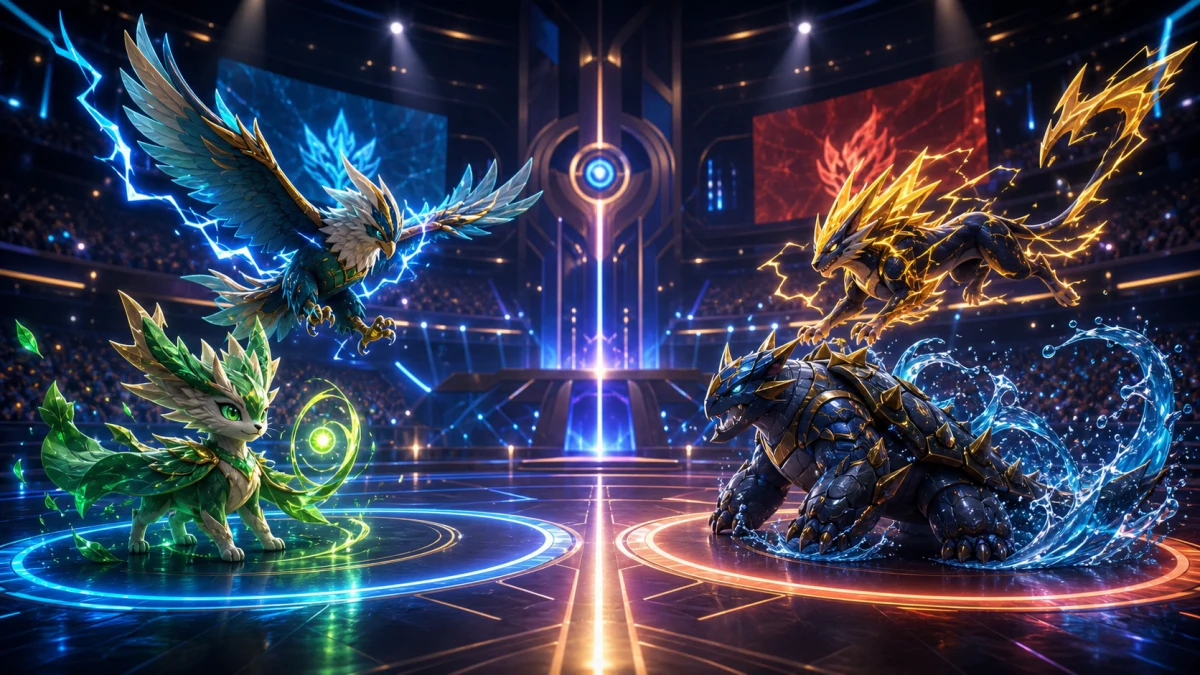
Win Conditions: How Stall Actually Closes Out Games
Even before looking at how stall wins, note the pivot tools that keep momentum on your side: Volt Switch / U-turn let you cycle back to your hazard setter or cleric without conceding a free switch; Teleport switches the user out last, giving the incoming Pokemon a guaranteed safe entry; and Protect blocks damage for one turn while generating a free Leftovers tick and letting you scout the opponent’s move.
The biggest misunderstanding about stall is thinking it doesn’t need a win condition. Stall wins in one of three ways:
1. Poison + recovery loop. Your wall Toxics a key threat, then Recovers through its attacks while poison ticks down to zero. This works against most balanced and offensive threats that lack status immunity.
2. Hazard chip accumulation. With three layers of Spikes and Stealth Rock, fast offensive teams lose chunks of HP every switch. After 4-5 switches, their health bars are low enough that even a weak defensive Pokemon can finish them.
3. PP drain. In extended games, powerful moves run out of PP. A wall with Protect can PP-stall a wallbreaker’s coverage move, eventually forcing Struggle. This is rare but decisive when it happens — it’s why Pressure as an ability is genuinely valuable on stall.
For broader context on team archetypes and how stall fits into the meta, our best teams ranked guide covers where defensive archetypes stand relative to offense in the current landscape.
Checking Common Threats: What Your Stall Team Must Answer
Before finalizing any stall build, identify your team’s checks for these four threat categories:
Setup sweepers (Swords Dance, Nasty Plot, Dragon Dance) — handle through Haze, Unaware, phazing moves (Roar, Whirlwind, Dragon Tail), or a Taunt user fast enough to stop setup before it starts.
Wallbreakers — your hardest matchup. Identify them early and preserve the check. Never let your only answer to a wallbreaker get burned or poisoned by Toxic Spikes.
Magic Guard users — ignore all passive damage, sidestepping your main win conditions. Counter with direct attacks, Knock Off, Trick, or Taunt.
Hazard removers — pressure out or eliminate the opponent’s Rapid Spin and Defog users before they clear your layers. Taunt stops defensive Defog; Ghost-types block Rapid Spin.
How status moves interact with each threat category in detail is covered in our status moves guide.
Common Mistakes Stall Players Make
Stall is punishing to misplay. These are the most common errors:
No cleric. Without Heal Bell or Aromatherapy, a single Toxic cripples your wall for the rest of the game. Always slot a cleric.
Running toxic spikes into a Poison-type. The opponent switches in a Poison-type and your two turns of setup get absorbed and erased. Scout the team before committing to Toxic Spikes over direct Toxic.
Protecting the hazard setter too conservatively. Hazard setters are often weak to common attacks. If you’re too cautious and lose your setter before getting rocks up, you’ve conceded a major structural advantage. Get rocks up as early as turn 1 if possible.
No wincon check. Stall teams get beaten by players who identify that you have no answer for a specific threat. Run through your entire team’s answers to the meta’s top wallbreakers before finalizing the build.
Too passive against status immunity. When the opponent has a Poison-type or Steel-type absorbing your status moves, you need a pivot to direct attack pressure. Don’t just cycle recover-status-recover if your status is being blocked every turn.
Countering Stall and What Stall Fears Most
Understanding how stall loses is useful whether you’re playing it or facing it. Even if you’re not playing stall, recognizing when your opponent is using a defensive structure helps you pick the right response.
The fastest ways to dismantle stall: Taunt shuts down Recover, Toxic, Hazards, and Defog all at once — opening with Taunt on a wall buys several free turns. Knock Off strips Leftovers, removing passive recovery so the wall degrades faster under hazard chip. A strong Defog user wipes your hazard investment in a single turn. Encore locks a wall into a recovery or setup move, giving your sweeper free turns to set up. Magic Guard Pokemon sidestep the entire hazard and poison engine, making most of your win conditions irrelevant against them.
For a full breakdown of offensive threats that stall teams must manage, see our meta threats and counters guide.
The strategies in this guide apply primarily to Singles formats. In Doubles, Protect becomes even more central (one Pokemon Protects while the partner acts), Wide Guard and Follow Me add defensive layers that don’t exist in Singles, and hazard pressure is somewhat diluted because two active Pokemon share the switch-in timing. For a deeper look at format differences, see our singles vs doubles guide.
Stall Team Checklist
Before submitting your defensive team to ranked, run through this checklist:
- Stealth Rock setter confirmed
- Hazard removal (Rapid Spin or Defog) confirmed
- Cleric (Heal Bell or Aromatherapy) confirmed
- At least one Pokemon with reliable recovery (Recover/Roost/Wish)
- Answer for Magic Guard users
- Answer for setup sweepers (Haze, Unaware, or phazing move)
- No single type that punches through the entire core
- At least one Protect user to extend Leftovers turns
- Win condition identified (Toxic loop, hazard accumulation, or PP drain)
FAQ
What is stall in Pokemon Champions? Stall is a team archetype built around surviving long enough to win through chip damage, entry hazards, poison, burn, or PP drain — rather than knocking out opponents with direct attacks. You outlast, you don’t overpower.
Is stall viable in Pokemon Champions ranked? Based on early community reports, stall is finding success especially at lower ladder tiers where hazard removal and status immunity are less consistent. Whether it holds up at top ladder as the meta develops is still being tested, but a well-built defensive core has historically been competitive in this type of format.
What is a defensive core? A defensive core is two or three Pokemon that cover each other’s type weaknesses while checking the same offensive threats. The classic example is a Ground/Flying/Steel triangle that blocks Electric, Water, Rock, and Fighting between them.
What are entry hazards and why do stall teams use them? Entry hazards — Stealth Rock, Spikes, and Toxic Spikes — deal passive chip damage whenever the opponent switches Pokemon. Stall teams force switches constantly, so hazards accumulate damage quickly and break through defensive stats over time.
What held items are best for stall Pokemon in Pokemon Champions? Leftovers (passive HP recovery each turn) is the backbone item for stall. Rocky Helmet punishes contact moves, Heavy-Duty Boots ignore hazards on your own walls, and Shed Shell lets trapped walls escape Pursuit or trapping moves.
How do I beat stall teams in Pokemon Champions? Bring a reliable Rapid Spin or Defog user to clear hazards, pack Taunt to shut down passive moves like Recover and Toxic, and use strong Knock Off users to strip Leftovers. Encore can also lock walls into harmless support moves.
What is the difference between stall, balance, and hyper offense? Hyper offense aims to knock out threats before they can act. Balance mixes offensive and defensive Pokemon in a flexible structure. Stall uses almost entirely defensive Pokemon and wins through passive damage and attrition. Each archetype has different hazard and status priorities.
What is PP stalling and does it work in Pokemon Champions? PP stalling means forcing the opponent to use a powerful move repeatedly until it runs out of PP. This was a classic stall technique in mainline Pokemon games. In Pokemon Champions, PP counts appear to function similarly — early community reports confirm moves have finite PP — but competitive PP stall requires extended matches, which ranked timer settings may limit.
Do I need a cleric on my stall team? Yes. A cleric — a Pokemon with Heal Bell or Aromatherapy — cures status conditions on your whole team. Without one, a single Toxic or Burn on your key wall can collapse the entire defensive structure.
What counters Magic Guard users on stall teams? Magic Guard blocks passive damage (poison, burn, hazards, weather), making those Pokemon immune to your main stall tools. The counters are direct KO pressure, Knock Off to strip their item, Trick to give them a bad item, or strong Taunt to stop their support moves.